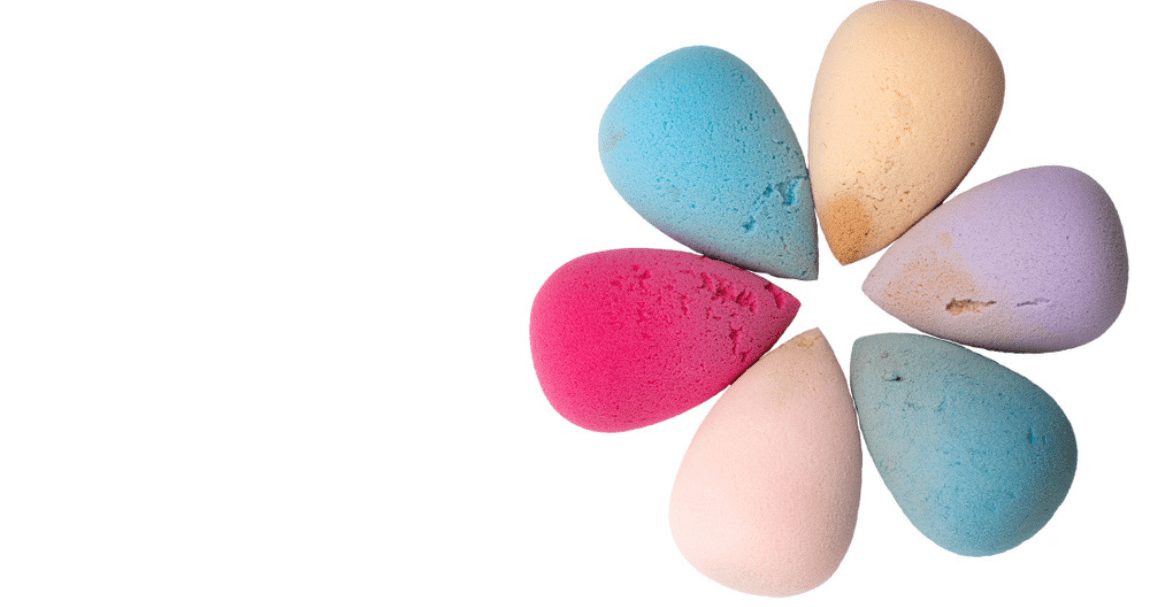
Makeup sponges have become an essential tool in every makeup enthusiast’s arsenal. These versatile and handy accessories help us achieve flawless coverage and blend our makeup seamlessly. However, one unsightly problem can quickly ruin our beloved beauty tools: mold on makeup sponges. Discovering mold on your favorite sponge can be distressing, but fear not! Greetings! This blog will address the mold issue on makeup sponges and share practical removal methods.
Understanding the Dangers of Mold on Makeup Sponges
Makeup sponges have become an essential tool in the beauty routine of many individuals. They provide a flawless finish and make applying makeup more accessible and efficient. Mold on makeup sponges can lead to health risks and skin problems if not addressed promptly. According to a Loyola University Health System study, nearly 93% of the makeup sponges analyzed contain bacteria, including mold.
The Health Risks of Mold on Makeup Sponges:
- Skin Irritation and Allergic Reactions
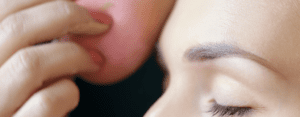
When makeup sponges are exposed to moisture and not cleaned regularly, mold can grow. Mold spores can trigger skin irritation and allergic reactions, especially in individuals with sensitive skin. Symptoms may include redness, itchiness, rashes, and even swelling.
- Infections
Mold on makeup sponges can introduce harmful bacteria and fungi to your skin. Sponges create warm and moist conditions ideal for microorganisms to breed, which is undesirable. Moldy sponges can increase the risk of infections, such as fungal or bacterial skin infections.
- Acne Breakouts
Moldy makeup sponges can harbor bacteria and other impurities contributing to acne breakouts. When you apply makeup with a contaminated sponge, you transfer these impurities onto your skin, clogging pores and causing inflammation.
Preventing Mold Growth on Makeup Sponges:
- Cleanliness is Key
Maintaining cleanliness is crucial to prevent mold growth on makeup sponges. After each use, thoroughly wash the sponge with warm water and a gentle cleanser. Be sure to thoroughly rinse the item and let it fully dry before storing it. Avoid harsh chemicals or excessive rubbing, which can damage the sponge’s texture.
- Regular Replacement
Makeup sponges have a limited lifespan. Regularly replacing them is essential to avoid the accumulation of bacteria and mold over time. For best practice, replacing your makeup sponges every two to three months is recommended. If you notice signs of mold or deterioration, replace them sooner.
Recognizing the Signs of Mold Growth on Your Makeup Sponges
Makeup sponges are an essential tool in many people’s beauty routines. They help achieve a flawless finish and seamless blending of makeup products. However, these sponges can become a breeding ground for mold if not properly cared for and cleaned. Mold growth on makeup sponges affects their performance and poses potential health risks. The American Academy of Dermatology advises against sharing makeup sponges, as it increases the risk of cross-contamination and mold growth.
Understanding Mold Growth
Mold thrives in warm and damp environments as a fungus type. When makeup sponges are consistently exposed to moisture, such as residual water or dampness from wet makeup products, they become an ideal breeding ground for mold.
Signs of Mold Growth
- Foul Odor: If your makeup sponge has a musty or unpleasant smell, it could be a sign of mold growth. If you detect an unusual odor from your sponge, mold might grow on it.
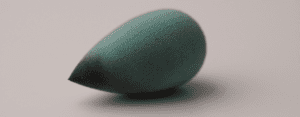
- Discoloration: Mold growth often causes discoloration on the surface of the makeup sponge. Look for dark spots, greenish or black patches, or any other abnormal hues that are not a result of makeup residue. These discolorations are a clear sign of mold infestation.
- Texture Changes: As mold spreads and multiplies, it can alter the texture of the sponge. You may observe a slimy or gritty feeling when using the sponge, indicating the presence of mold colonies.
- Allergic Reactions: Mold spores can trigger allergic reactions in sensitive individuals. If you experience increased skin irritation, redness, itching, or respiratory issues after using a makeup sponge, it could be a sign of mold contamination.
Prevention and Remediation
- Make sure to clean and dry your makeup sponge properly after every use. To remove any leftover makeup, using a mild cleanser with warm water is best. Squeeze out water from the sponge; air dry completely. Avoid storing damp sponges in closed containers, as this promotes mold growth.
- Regular Inspection: Take the time to inspect your makeup sponges periodically. Look for any signs of mold growth, including discoloration, texture changes, or unpleasant odors. If you detect mold, it is crucial to discard the sponge immediately.
- Replace Regularly: Even with proper care, makeup sponges have a limited lifespan. For optimum hygiene, it’s recommended to replace them every few months, depending on their frequency of use, to prevent the accumulation of bacteria and mold.
Step-by-Step Guide to Cleaning Mold from Makeup Sponges
The Importance of Regularly Washing and Disinfecting Makeup Sponges
Makeup sponges are essential tools for achieving a flawless makeup application. However, with regular use and improper cleaning, these sponges can become a breeding ground for mold and bacteria. Mold on makeup sponges compromises their effectiveness and can pose a risk to your skin health.
Step 1: Inspect your Makeup Sponges
Before starting the cleaning process, carefully inspect your makeup sponges for any signs of mold. Mold on sponges appears as black or dark green spots or patches. If you see any indications of mold, take prompt action to prevent it from spreading.
Step 2: Gather Cleaning Supplies
To clean mold from your makeup sponges, you will need the following supplies:
- Mild liquid soap or a dedicated makeup sponge cleanser
- Warm water
- A clean towel or paper towels
- A small bowl or sink
Step 3: Rinse the Sponges
To clean your makeup sponges, begin by rinsing them under warm running water. This will effectively eliminate any loose debris and surface mold on the sponge. Gently squeeze and press the sponge to flush out all the trapped makeup and mold particles.
Step 4: Discover the art of making a cleaning solution quickly and confidently.
To clean your makeup sponge, fill a small bowl or sink with warm water and mix in a few drops of mild liquid soap or a cleanser specifically designed for makeup sponges. Mix the solution until it becomes soapy and well-blended. The soap or cleaner will help break down any remaining makeup residue and kill the mold spores.
Step 5: Soak and Clean the Sponges
Place the rinsed makeup sponges into the bowl or sink containing the cleaning solution. Allow them to soak for about 5 to 10 minutes. During this time, gently agitate the sponges with your fingers to ensure the cleaning solution penetrates all the layers of the sponge.
Step 6: Rinse Thoroughly
After soaking, remove the makeup sponges from the cleaning solution and rinse them thoroughly under warm running water. Continue rinsing until all the soap or cleanser is washed away and the water runs clear.
Step 7: Squeeze out Excess Water
Gently squeeze the makeup sponges to remove excess water. Avoid forcefully wringing or twisting the sponges, as this can damage their structure. Instead, apply gentle pressure to squeeze out the water.
Step 8: Air Dry
To dry your makeup sponges, lay them on a tidy towel or paper towel and allow them to dry naturally. Make sure they are still slightly damp when you do this. Avoid using heat sources like hairdryers, as they can cause the sponges to shrink or warp. Allow the sponges to dry completely before using them again.
Regularly cleaning and disinfecting your makeup sponges is essential for several reasons:
- Preventing Mold Growth: Regular cleaning removes makeup residue, oils, and bacteria that can accumulate on the sponges, minimizing the risk of mold growth.
- Maintaining Skin Health: Using dirty makeup sponges can transfer bacteria and mold to your skin, leading to breakouts, irritations, and infections. Regular cleaning helps keep your skin healthy and free from potential diseases.
- Enhancing Makeup Application: Clean makeup sponges ensure a smoother and more even application of foundation.
Tips for Drying Makeup Sponges to Prevent Mold Infestation
Makeup sponges are essential tools for achieving a flawless makeup application. When sponges are not taken care of properly, they can develop mold, harming your skin and affecting the sponge’s performance. Here are some helpful tips for drying makeup sponges to prevent mold infestation.
1. Rinse Immediately after Use
After using your makeup sponge, it’s important to rinse it thoroughly to remove any leftover makeup residue. The longer the product sits on the sponge, the more likely it is to encourage mold growth. Use a mild soap or a sponge cleanser with warm water to remove your makeup. Gently squeeze and rinse the sponge until the water runs clear.
2. Squeeze Out Excess Water
Once you’ve rinsed the sponge, squeeze out as much water as possible. Remove excess moisture, gently press it between your palms or use a clean towel. To prevent mold growth, it is crucial to eliminate as much water as possible since extra moisture fosters its development.
3. Air Dry in a Well-Ventilated Area
To prevent mold from developing on your makeup sponge, allow it to air dry in a well-ventilated area. Avoid placing it in a damp bathroom or closed container, as the lack of airflow can promote mold growth. Instead, find a clean and dry spot where the sponge can dry naturally. Ideally, choose a location with good air circulation, such as a windowsill or a makeup brush holder with multiple openings.
4. Avoid Direct Sunlight
While drying your makeup sponge in a well-ventilated area is essential, avoiding direct sunlight is equally crucial. Excessive exposure to sunlight can cause the sponge to deteriorate and lose shape. Additionally, prolonged exposure to sunlight can create a warm and humid environment, encouraging mold growth. Opt for a shaded area that receives indirect light.
5. Cleanse Regularly
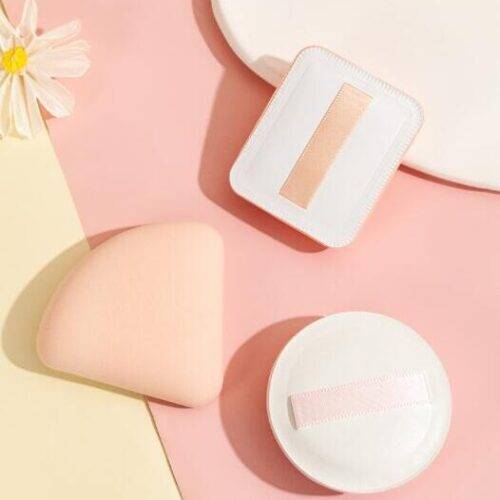
Regularly cleaning your makeup sponge (weather it is cushion or cotton powder) is crucial for preventing mold infestation. In addition to rinsing after each use, deep clean the sponge at least once a week. Use a mild shampoo or a specialized sponge cleanser to remove leftover makeup, oils, and bacteria. After washing it, rinse it thoroughly and remove any excess water before leaving it to air dry.
Final Words
In conclusion, mold on makeup sponges can be a common issue, but with proper prevention and proactive measures, you can keep your sponges clean and mold-free. Remember to store them in a dry environment, inspect them regularly, and employ effective cleaning methods if mold does appear. And when it’s time for replacements, consider Panda Sponge, your trusted supplier of high-quality makeup sponges. Take care of your makeup tools, and enjoy a flawless makeup application every time!

Maggie Peng serves as the esteemed Product Manager at Panda Sponge, where she has garnered a wealth of experience and expertise over the course of five years. With a primary focus on product design, testing, and development, Maggie has consistently exhibited her prowess in these domains.