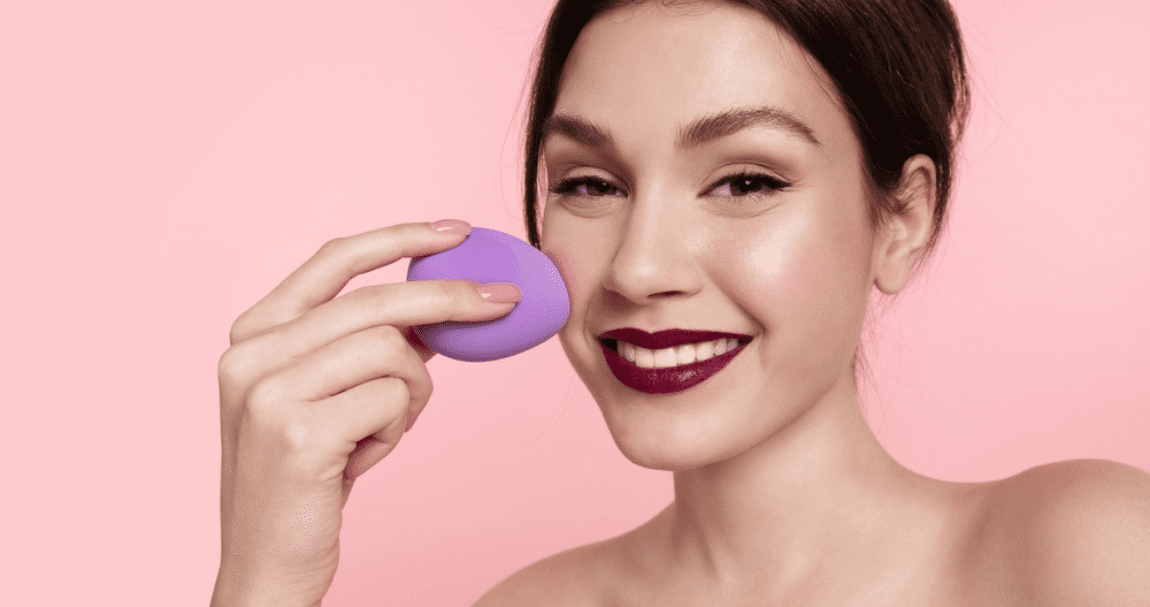
Makeup sponges have become an essential tool in every makeup enthusiast’s arsenal. Whether you’re a beginner or a pro, mastering the art of using makeup sponges can elevate your makeup application to the next level. If you’re wondering how to use makeup sponges effectively, you’ve come to the right place. In this blog post, we’ll dive into the world of makeup sponges, exploring the different types available and providing step-by-step instructions on how to achieve a flawless makeup look using these handy tools.
How To Use Makeup Sponges

The use of makeup sponges is now required for flawless makeup application. They are a favourite among beauty enthusiasts due to their adaptability and capacity to blend products seamlessly. Here is a step-by-step tutorial on how to use makeup sponges efficiently if you’ve never used them before or want to improve your technique.
Step 1: Wet The Sponge
Before using a makeup sponge, it’s important to wet it. Wetting the sponge helps to prevent it from absorbing too much product, ensuring that your makeup goes on smoothly. Simply run the sponge under water until it becomes fully saturated.
Step 2: Squeeze Out Excess
After wetting the sponge, gently squeeze it to remove any excess water. This step is crucial because an overly wet sponge can dilute your makeup and make it difficult to achieve the desired coverage. By squeezing out the excess water, you’ll have better control over the application process.
Step 3: Apply The Product
Now that your sponge is properly prepared, it’s time to apply your makeup. Depending on the product you’re using, apply a small amount directly to the sponge or onto your face. For foundation or concealer, dab the sponge into the product or gently stipple it onto the skin.
Step 4: Dab, Dab, Dab
The key to achieving a flawless finish with a makeup sponge is to dab, not drag. Instead of swiping or dragging the sponge across your face, lightly dab it onto the skin. This technique helps to evenly distribute the product and create an airbrushed effect.
Remember to clean your makeup sponge regularly to maintain its hygiene and performance. A clean sponge will ensure better application and prevent the buildup of bacteria.
How To Use A Makeup Sponge For Foundation

Makeup sponges have become an essential tool in the beauty industry, offering a flawless and airbrushed finish. According to a survey conducted in 2020, 78% of makeup users prefer using a makeup sponge for foundation application due to its ability to create a seamless finish. If you’re wondering how to use makeup sponges effectively for foundation application, by following these techniques, you can achieve a seamless and natural-looking complexion.
Step 1: Choose the Right Sponge
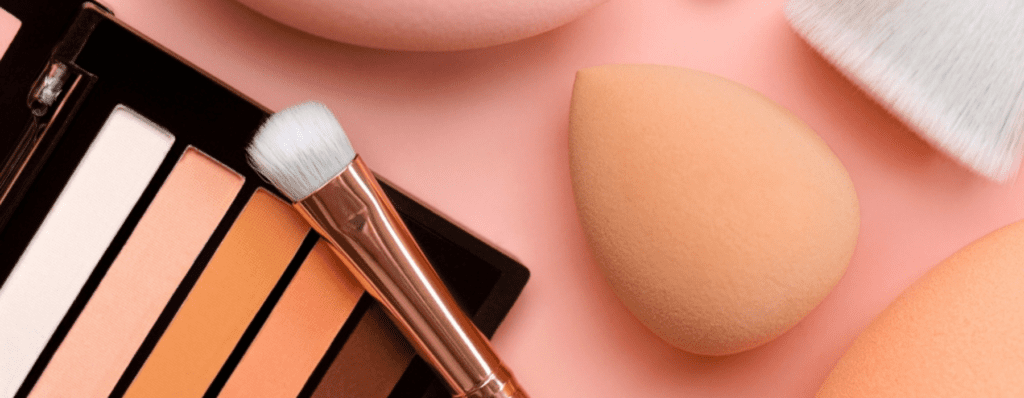
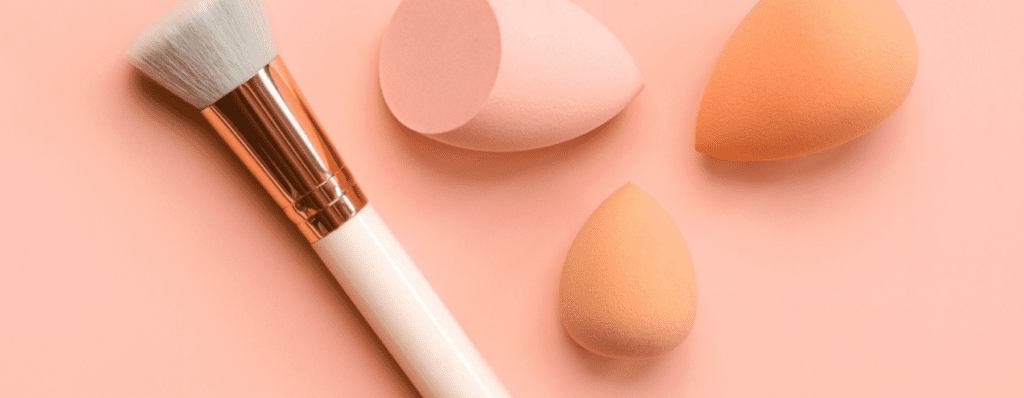
Selecting the right makeup sponge is crucial for a successful application. There are various types available, including latex, non-latex, and microfiber sponges. Experimenting with different textures can help you determine which one works best for your skin type and desired finish.
Step 2: Dampen the Sponge
Before using the makeup sponge, dampen it with water. This step is vital as it prevents the sponge from absorbing excess foundation, ensuring even distribution and minimal product wastage. Gently squeeze out any excess water, leaving the sponge slightly damp.
Dispense Foundation: Squeeze a small amount of foundation onto the back of your hand or a palette. Using a clean finger or a brush, dot the foundation onto your face, focusing on areas that require more coverage.
Step 3: Apply with Bouncing Motion
Now, take the dampened makeup sponge and lightly press it onto the foundation dots on your face. Begin by dabbing and bouncing the sponge gently, blending the foundation into your skin. This technique helps achieve a smooth and natural finish while avoiding streaks or cakey patches.
Step 4: Build Coverage Gradually
For higher coverage, repeat the previous step by adding more foundation to the sponge and blending it into your skin. Remember to layer the foundation gradually to avoid a heavy or unnatural appearance.
How To Use A Makeup Sponge For Concealer
Every collection of cosmetics enthusiasts must now include makeup sponges. These multipurpose sponges are especially helpful for flawlessly applying concealer. Knowing how to use a makeup sponge for concealer can take your makeup skills to the next level, regardless of your level of experience.
Step 1: Dampen the Sponge
Before applying concealer, it’s important to dampen the sponge. This allows for a smoother application and prevents the product from being absorbed excessively. Wet the sponge with water and squeeze out any excess moisture. The sponge should be slightly damp but not dripping wet.
Step 2: Apply Concealer
Dab a small amount of concealer onto the back of your hand or a clean surface. Dip the rounded end of the makeup sponge into the concealer and gently tap it onto the areas you want to cover. The bouncing motion of the sponge helps blend the concealer seamlessly into the skin, providing a natural finish.
Step 3: Build Coverage
If you require additional coverage, repeat the previous step by adding more concealer to the sponge and tapping it onto the desired areas. Building coverage gradually allows for a more natural and flawless look.
Step 4: Blend and Feather
After applying the concealer, use the sponge to blend and feather the product outwards, ensuring there are no harsh lines or edges. This creates a seamless transition between the concealer and the rest of your makeup.
Step 5: Set with Powder
To ensure the longevity of your concealer, set it with a translucent or setting powder. Gently press the powder onto the concealed areas using the sponge or a fluffy brush. This will help prevent creasing and increase the longevity of your makeup.
How To Use A Makeup Sponge For Blush
Makeup sponges are now a necessary item in the toolkit of every beauty enthusiast. They provide a smooth and flawless finish, which makes them ideal for applying blush. Here’s a step-by-step guide on how to apply blush using a makeup sponge, whether you’re a makeup novice or a pro, to get a flawless flush.
Step 1: Prep your skin
Before applying any makeup, ensure your skin is clean and moisturized. This will help the blush blend smoothly and evenly.
Step 2: Choose the right sponge
Opt for a soft, damp makeup sponge to achieve the best results. Ensure it is clean and free from any residue.
Step 3: Pick your blush shade
Select a blush shade that complements your skin tone. Lighter shades work well for fair skin, while deeper shades flatter darker skin tones.
Step 4: Apply the blush
Dip the rounded edge of the makeup sponge into the blush and tap off any excess. Start by applying the blush to the apples of your cheeks, blending it outward towards your temples. Use gentle dabbing and stippling motions to achieve a natural look.
Step 5: Set the blush
To ensure longevity, lightly dust a translucent setting powder over the blush using a fluffy brush. This will help the blush stay in place throughout the day.
Step 6: Clean and store your sponge
After each use, clean your makeup sponge with mild soap or a dedicated sponge cleanser. Rinse thoroughly and let it air dry. Store it in a clean and dry place to maintain its shape and quality.
How To Use A Makeup Sponge For Bronzer/Contour

Makeup sponges are useful tools that can assist you in applying contour or bronzer flawlessly and naturally. Whether you’re a makeup novice or enthusiast, using a makeup sponge can significantly alter how your contour or bronzer appears on your skin.
Choosing the Right Sponge
Before you begin, it’s important to select the right makeup sponge. Opt for a sponge with a soft and porous texture, like a beauty blender. This type of sponge will help blend the product seamlessly into your skin, providing an airbrushed finish.
Preparation
Start by dampening the sponge with water. Squeeze out any excess water, ensuring it is slightly damp but not dripping wet. This step is crucial as it helps the sponge absorb less product and provides a more natural finish.
Application Technique
Dip the dampened sponge lightly into your bronzer or contour product. Remember to start with a small amount and build up if needed. Gently dab or stipple the sponge onto the desired areas of your face where you want to apply the bronzer or contour.
Blending
Once the product is applied, use the clean, damp side of the sponge to blend the bronzer or contour into your skin. Blend in circular motions or soft strokes, ensuring there are no harsh lines or uneven patches.
Finishing Touches
After blending, take a moment to assess the overall effect. If necessary, you can use the sponge to blend any remaining edges or areas that need extra attention. Once you’re satisfied with the result, set your bronzer or contour with a setting powder for long-lasting wear.
Cleaning and Maintenance
After each use, rinse the sponge thoroughly with water and a mild soap or a specialized cleanser. Gently squeeze out excess water and let it air dry. It’s essential to clean your sponge regularly to maintain its cleanliness and prevent the buildup of bacteria.
Final Words
In conclusion, mastering the art of using makeup sponges can greatly elevate your makeup game. By choosing the right type of sponge, preparing it properly, and employing the right application techniques, you can achieve a flawless and professional-looking finish. And when it comes to sourcing makeup sponges, Panda Sponge stands out as a trusted supplier that caters to wholesale buyers. With our expertise and dedication to customer satisfaction, they are your go-to partner in the world of makeup sponges. So go ahead, embrace the power of makeup sponges, and experience a new level of beauty.

Maggie Peng serves as the esteemed Product Manager at Panda Sponge, where she has garnered a wealth of experience and expertise over the course of five years. With a primary focus on product design, testing, and development, Maggie has consistently exhibited her prowess in these domains.